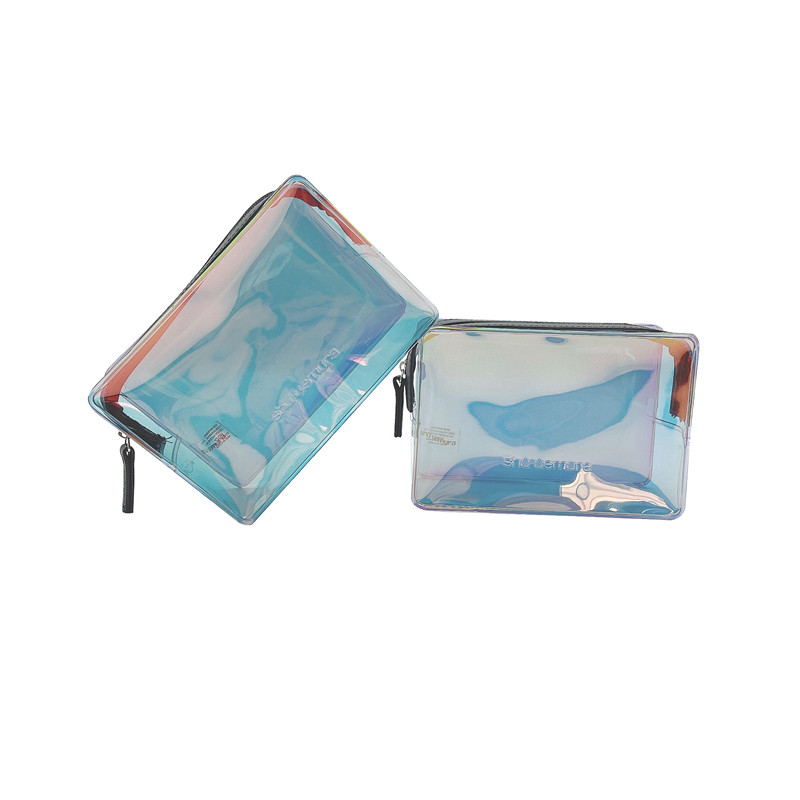
Mastering the cutting size chart of cosmetic bag

Make your own cosmetic bag easily by mastering the cutting size chart of a cosmetic bag. Whether you are a beginner or an experienced seamstress, understanding the cutting size chart is crucial for creating a professional-looking cosmetic bag. In this article, we will guide you through the step-by-step process of making your own beautiful and functional cosmetic bag.
Step 1: Gather the necessary materials
To start your DIY cosmetic bag project, you will need the following materials:
- Fabric: Choose a fabric that is durable and suitable for your desired bag size. You will need fabric for the outer shell and the lining.
- Interfacing: This will add structure and stability to your bag.
- Zipper: Select a zipper that matches the length of your bag opening.
- Thread: Choose a thread color that complements your fabric.
- Scissors, ruler, pins, and sewing machine: These are essential tools for cutting and sewing your fabric together.
Step 2: Determine the cutting size chart
Measurements are crucial for creating a well-fitting cosmetic bag. The cutting size chart will guide you in determining the dimensions of each fabric piece. Here is a simple cutting size chart example for a basic cosmetic bag:
| Fabric Piece | Dimension |
|---|---|
| Main Outer Tube | 12 inches x 8 inches |
| Lining Outer Tube | 12 inches x 8 inches |
| Main Inner Tube | 12 inches x 8 inches |
| Lining Inner Tube | 12 inches x 8 inches |
| Zipper Tabs | 2 inches x 2 inches |
Remember to add seam allowances to your measurements, typically around 1/2 inch, to account for sewing.
Step 3: Cut and assemble the fabric pieces
Using the cutting size chart as your guide, cut out the fabric pieces accordingly. Ensure that you have two sets of the outer and inner tubes, as well as the zipper tabs.
Next, assemble the fabric pieces by aligning the outer tubes with the lining tubes and the zipper tabs. Pin them in place and sew along the edges, leaving a small opening for turning the bag right side out.
Finally, attach the zipper to the bag opening, making sure to secure it properly. Sew the remaining sides of the bag and finish by sewing the opening closed. Trim any excess threads and turn the bag right side out.
Summary
By mastering the cutting size chart of a cosmetic bag, you can easily create your own personalized cosmetic bag. With a few materials and some sewing skills, you can make a stylish and functional accessory for your makeup essentials. Get creative with your fabric choices, and follow the step-by-step instructions to bring your DIY cosmetic bag to life. Enjoy the satisfaction of using a handmade bag that reflects your style and craftsmanship.
Tags:bag your cosmetic inches cutting fabric size chart sewing will
 LEES PROMOTION
